Java 5: GUIs and Events
This week you will not need to submit your solutions.
- Open the IntelliJ IDE
- Choose
Check out from Version Control -> gitin the welcome window, or chooseVCS -> Check out from Version Control -> git
- Enter the git URL:
https://github.com/cs2113f18/template-j-5- Keep hitting “Next” or “Yes” until it opens a new window with the project you cloned.
- Note: Always use one of the two options listed above. Do NOT try to do File->New… It won’t work correctly!
- The full slides are available here - This includes intro and conclusion slides not shown below!
- This week featured a repeat of the Pets Quiz, hopefully this time you used
abstractclasses!
Objectives
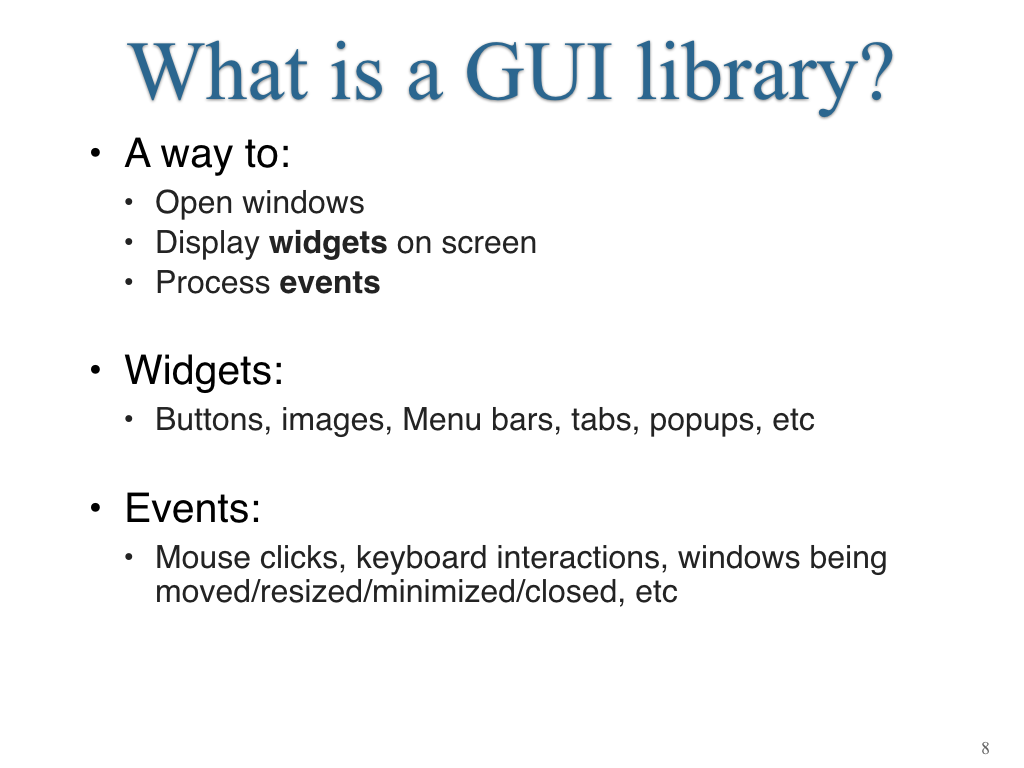
- To design graphical user interfaces
- To make a GUI respond to events such as button clicks
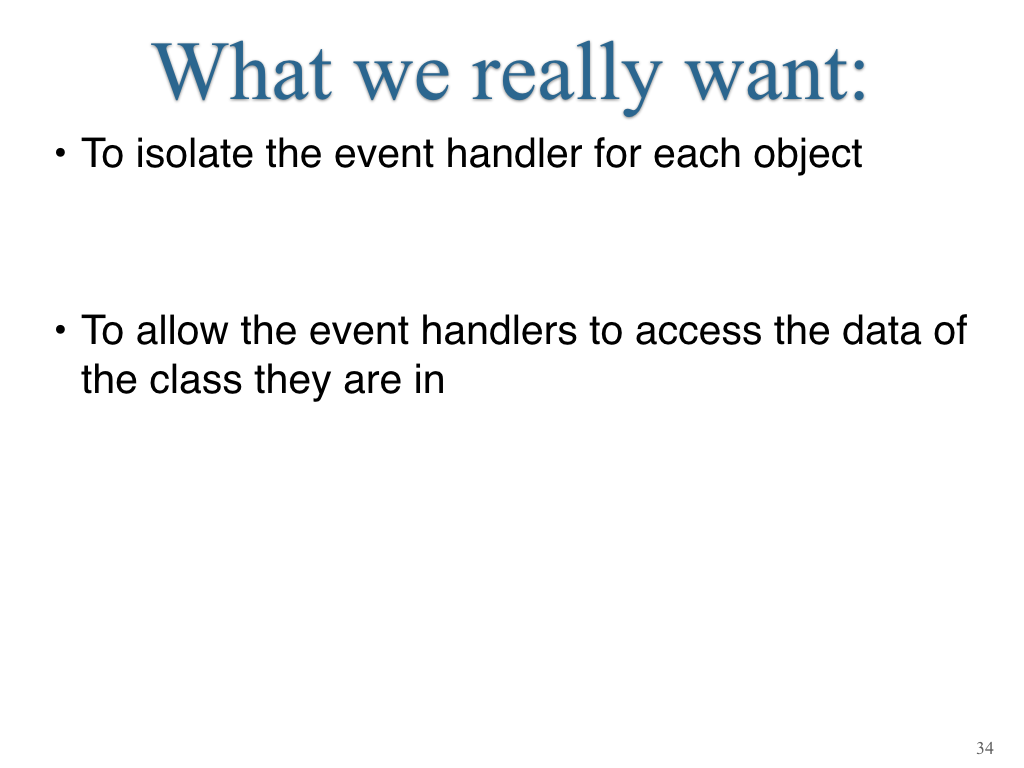
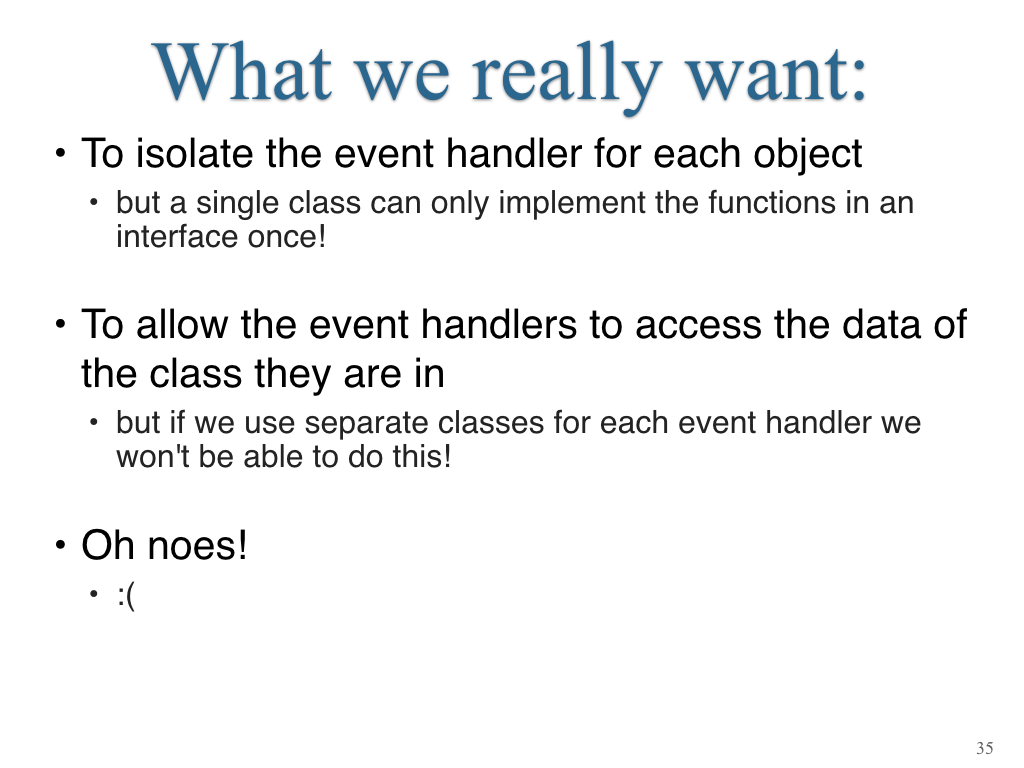
- To use inner classes to provide good OOP practices in our GUI code
1. Swing Basics
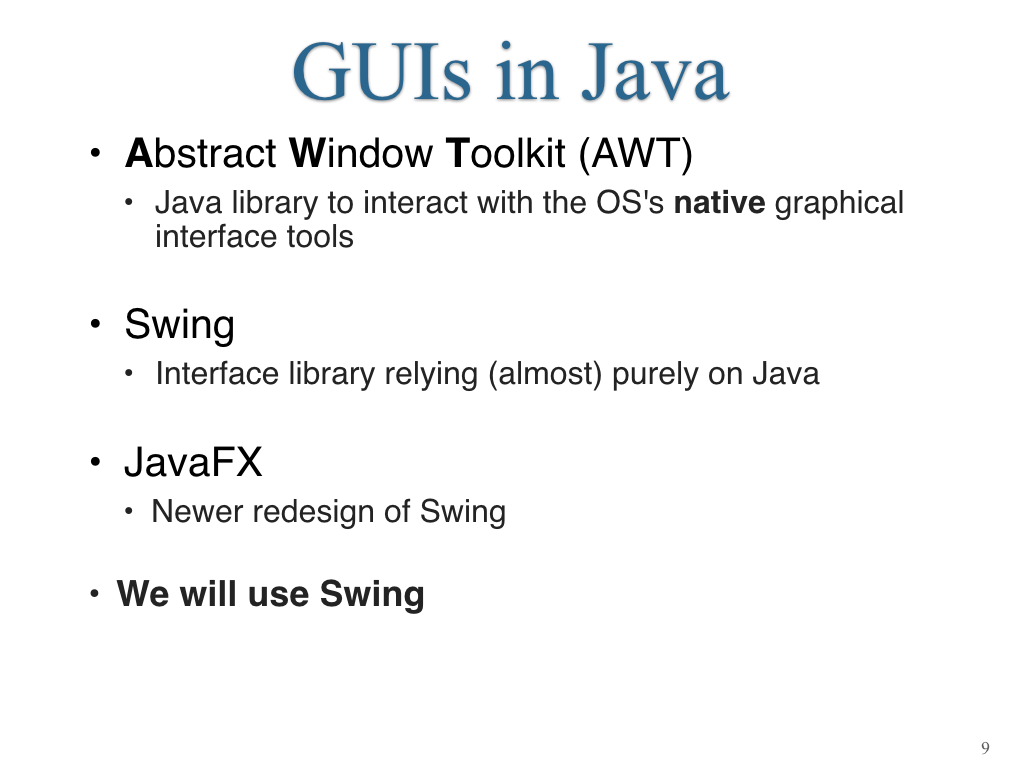

Java provides two quite different packages for developing GUI applications: Swing and JavaFX
- Swing is a bit dated but sturdy and well-understood.
- JavaFX is newer (2016) and an improvement over Swing but it adds some complexities we don’t need to deal with now.
- There are also third-party Java GUI libraries (such as Apache’s Pivot) in use.
We will focus on Swing.
- The key ideas in most Java GUI development can be learned through Swing.
- Swing itself evolved from Java’s first GUI package called AWT.
- AWT is still in use on some small devices.
- Some classes (objects) that Swing uses are still in AWT.
- This is why many import statements import from AWT.
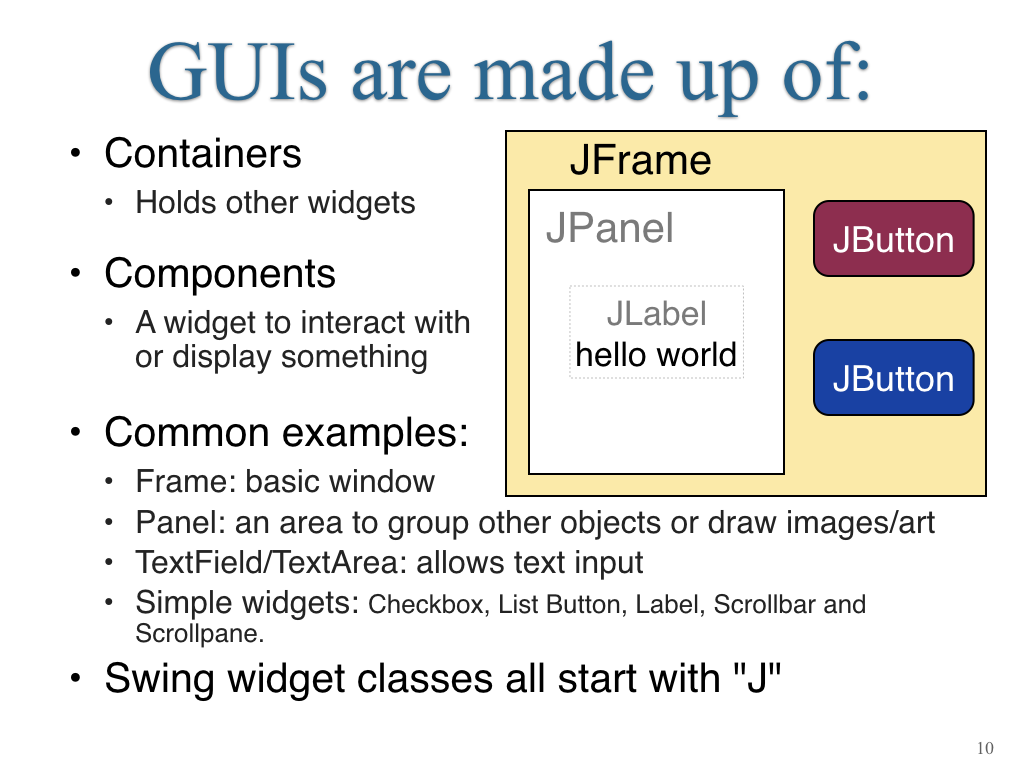
Typical classes you can expect to use include:
- JFrame: to create a top-level window.
- JPanel: a sort-of “sub-window” in which you can place groups of buttons and other widgets.
- JTextField and TextArea: to display and read-in text.
- JDialog and FileChooser: to obtain specific event-driven information in a separate top-level window.
- Various standard widgets: JCheckbox, JList JButton, JLabel, JScrollbar and JScrollpane.
- Various layout managers: FlowLayout, BorderLayout, CardLayout, GridLayout, BoxLayout and GridBagLayout.
- Menu-related widgets: JMenuBar, JMenuItem and JPopupMenu.
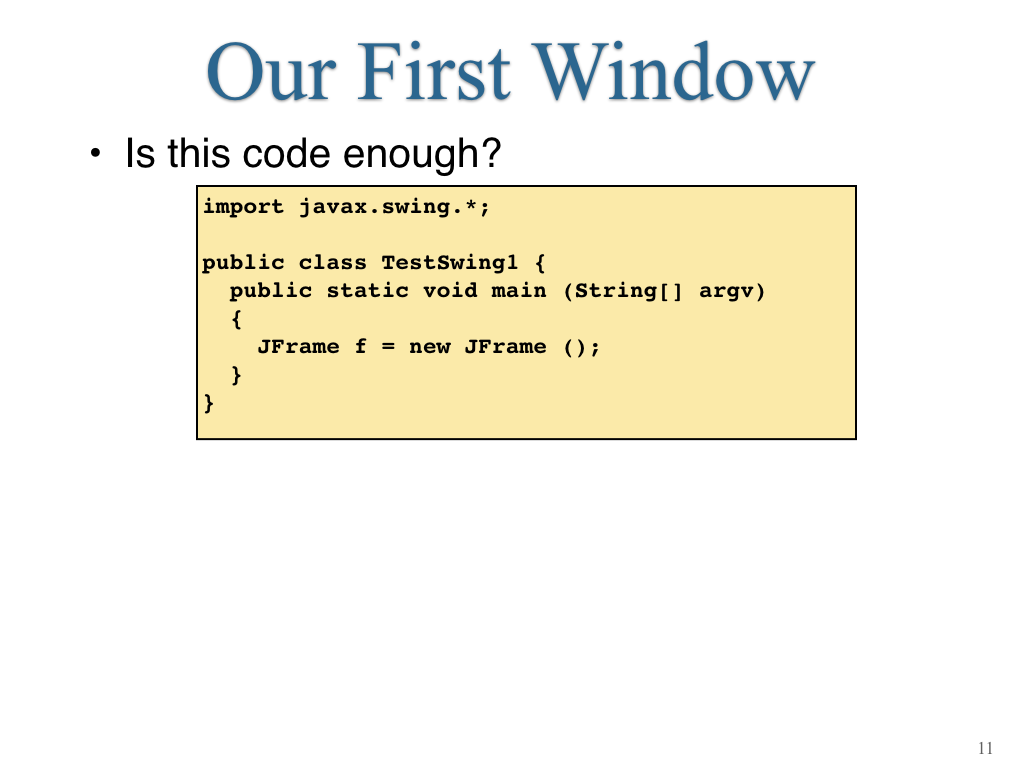
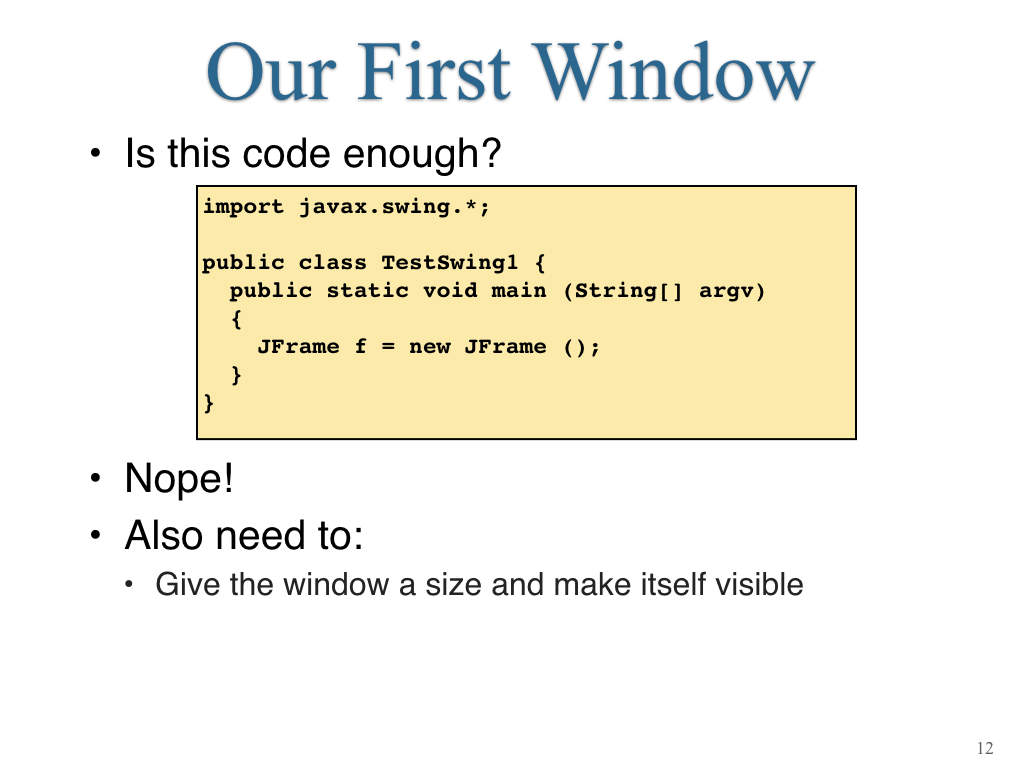
Code for opening a basic window:
import java.awt.*;
import javax.swing.*;

public class TestSwing2 {

    public static void main (String[] argv)
    {
        // Create a Frame instance.
        JFrame f = new JFrame ();

        // Set the size.
        f.setSize (200, 100);

        // Install a title for the titlebar.
        f.setTitle ("A Test Window");

        // A background color:
        //   First, extract the contentPane
        Container cPane = f.getContentPane();
        //   Then, set its color.
        cPane.setBackground (Color.cyan);

        // Display.
        f.setVisible (true);
    }

}
Note:
- Some books will use
show()instead ofsetVisible(). - On some operating systems, the window may not be automatically re-sizable. In this case, simply add the line:
f.setResizable (); - By default, closing a JFrame does not cause the program to terminate. Why?
- Use
setDefaultCloseOperation(JFrame.EXIT_ON_CLOSE);to make closing a window end the program.
- Use
The size of the window is described in pixels (i.e., dots on the screen):
- Thus,
f.setSize (200,100)requests a window 200 pixels wide and 100 pixels in height. - Since the actual screen resolution will vary from terminal to terminal, the actual window size will vary across systems.
- You can get the screen resolution with the following code:
// Get a Toolkit instance.
Toolkit tk = Toolkit.getDefaultToolkit ();

// Get resolution in pixels per inch.
int pixelPerInch = tk.getScreenResolution ();

// Screen dimensions can also be obtained in a Dimension instance.
Dimension screenSize = tk.getScreenSize ();

// Print out results.
System.out.println ("Resolution: " + pixelsPerInch);
System.out.println ("Size (pixels): Height=" + screenSize.height +
        ", Width=" + screenSize.width);
Practice: Use the above code to print out the screen size in inches. Next, bring up a window that is 3 inches wide and 2 inches in height and place the window approximately in the center of the screen. (Use the setLocation method of Component).
2. Containers and Layouts
Components and Containers:
- Swing classes or “widgets” are derived (via inheritance) from
JComponentwhich is a sort-of “uber” component with basic functionality. - Another such class is
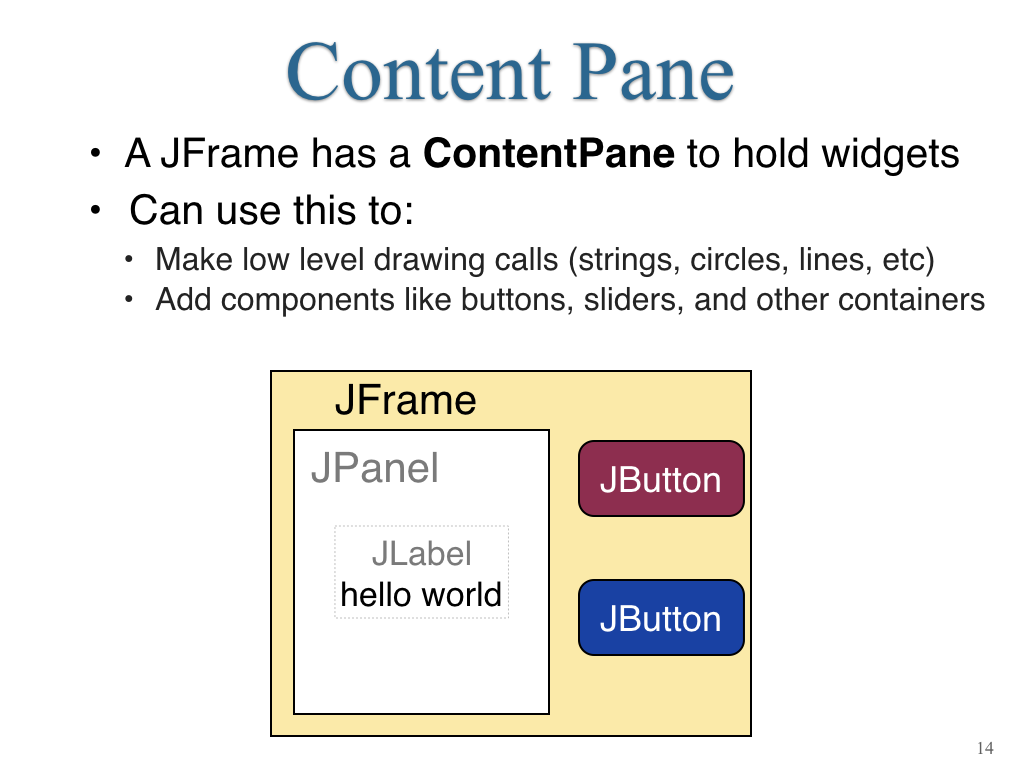
JContainerwhich allows one to place widgets inside other widgets. - For example, we need to place buttons inside frames, so we need to get access to the Frame’s Content Pane.
- What this means for us:
- Some API documentation for particular methods may not easily be found in the particular widget you’re looking at.
- You may need to look at the documentation in a “parent” class.
We can use a JFrame’s JContainer to do low-level drawing by accessing its Graphics context.
- To do this we need to replace the GUI’s
paintComponentfunction, thus we typically will create a new class that extends something likeJPanelin order to do this.
Here are some methods inGraphics: - For writing:
drawString(),setFont(). - For drawing empty shapes:
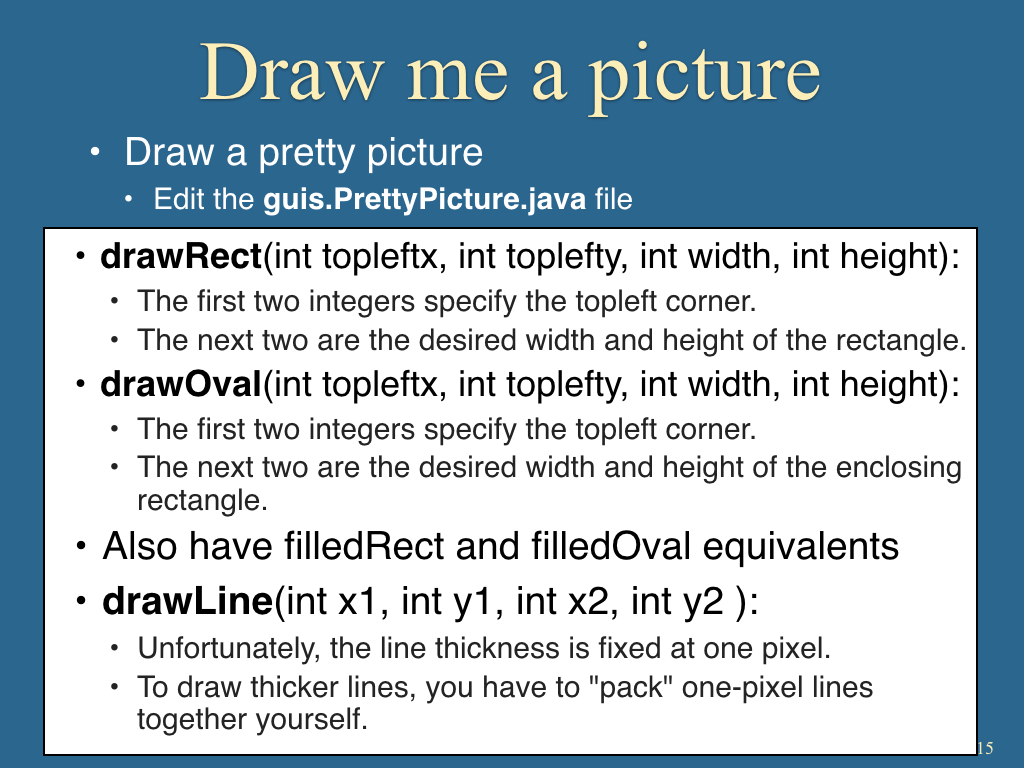
drawRect(),drawOval,drawPolygon(),drawPolyline(),drawArc(). - For drawing filled shapes:
fillRect(),fillOval(),fillPolygon(),fillArc(). - For drawing a line:
drawLine() - For clipping and translating:
setClip(),translate(). - In general, these functions take parameters in X, Y pixel coordinates, starting at the top left
- These is a low-level way to draw shapes to the screen; in general you will use high level GUI components rather than drawing out your own buttons.
Practice: Use the template in
practice/Chess.javato draw a standard 8x8 chessboard. Place the topleft corner of the chessboard at the topleft corner of the panel.
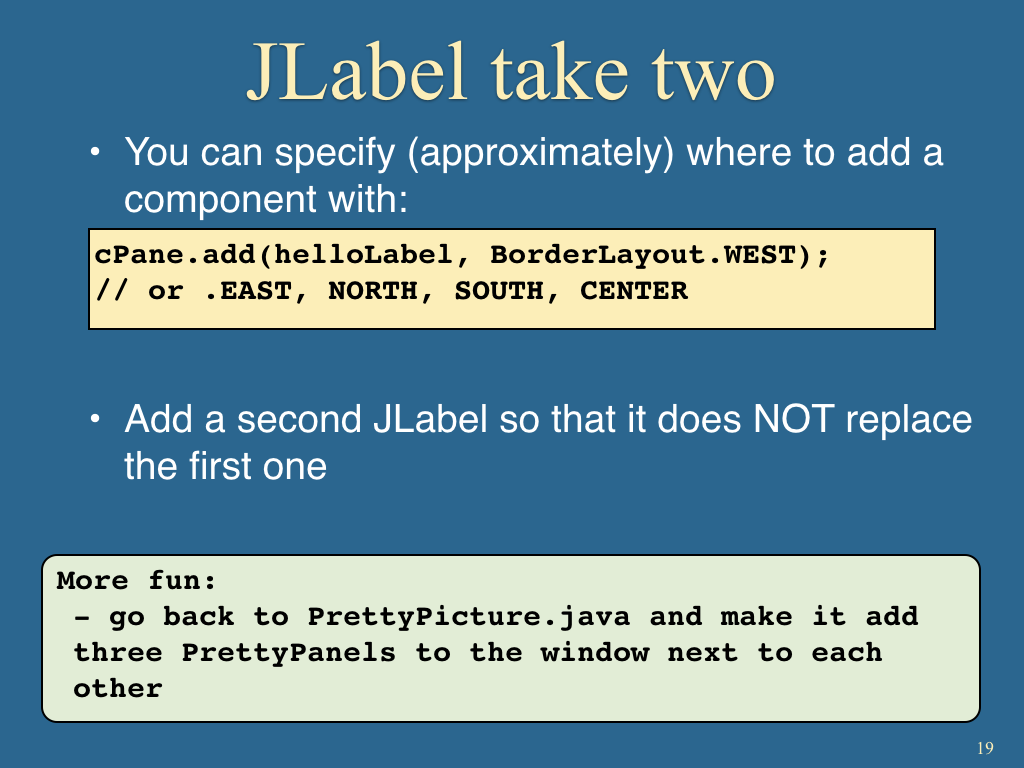
More importantly, we can add GUI components into containers. When one component (like a label or a button) is placed inside another, there are usually two aspects to pay attention to:
- A component that can hold other components is called a container.
- Sometimes, a component like a JFrame is not the right container.
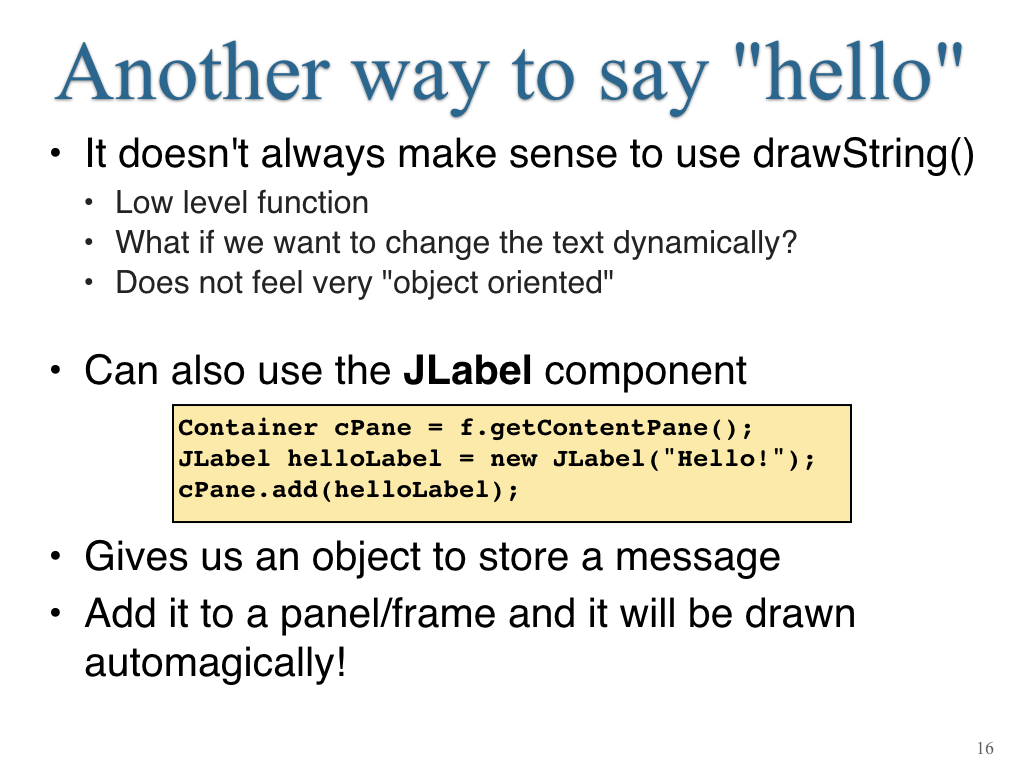
In fact, we first need to retrieve JFrame’s container (using getContentPane) to place something in it.
- Other components like JPanel are containers themselves with their own
add()method.
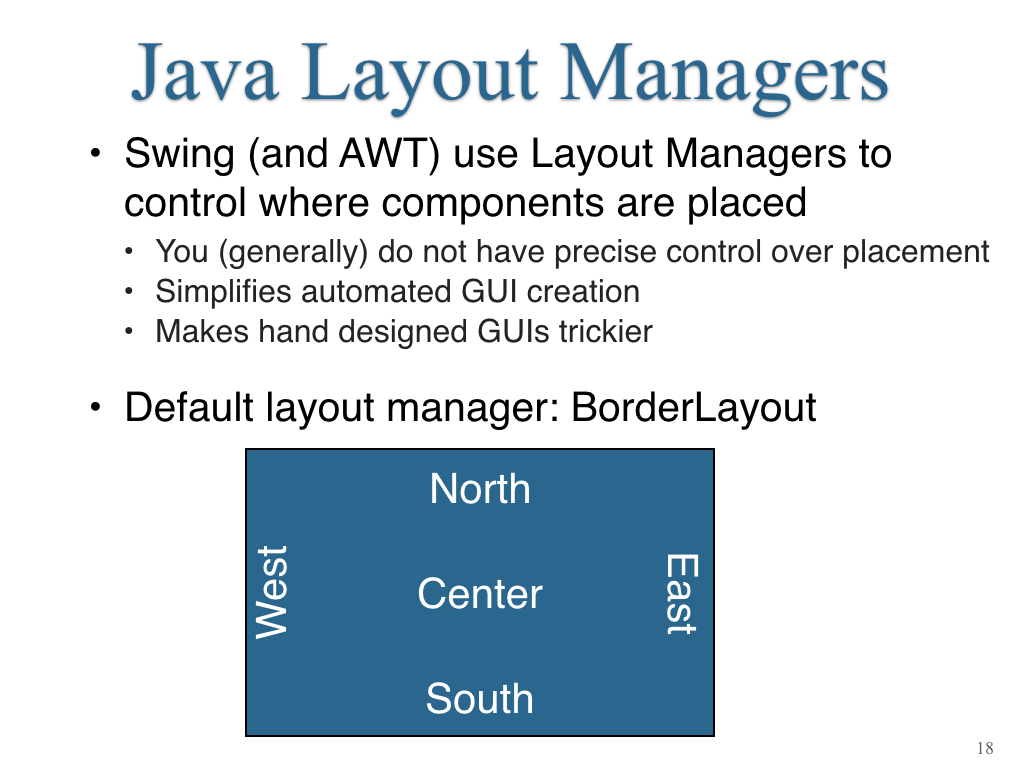
The other aspect to keep in mind is the layout:
- Each container uses a layout manager to arrange components for display:
- Layout managers don’t let you control exact locations, but give you some options in controlling the layout.
- Layout managers also ignore sizes of components.
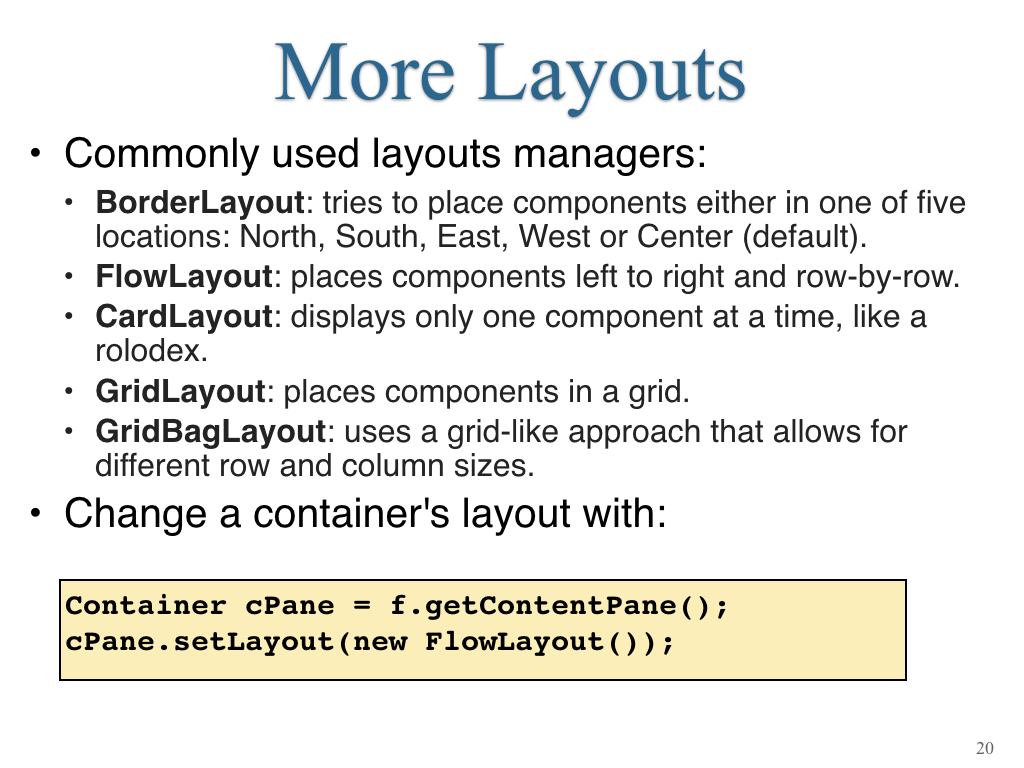
These are examples of layout managers:
BorderLayout: this manager tries to place components either in one of five locations: North, South, East, West or Center (default).FlowLayout: this manager places components left to right and row-by-row (in standard scan order).CardLayout: this manager displays only one component at a time, like a rolodex.GridLayout: this manager places components in a grid.GridBagLayout: this manager uses a grid-like approach that allows for different row and column sizes.- Each layout manager is a class in
java.awtorjavax.swing.
Beware:
- The default layout for a
JFrameisBorderLayoutbut the default layout for aJPanelisFlowLayout
Practice: Write code in the
practice.uglybuttons.Buttons.javafile to create a hideous window with buttons at all locations like the following:
The solution also shows formatting capabilities like using HTML in buttons and setting fonts.

3. Events and Listeners
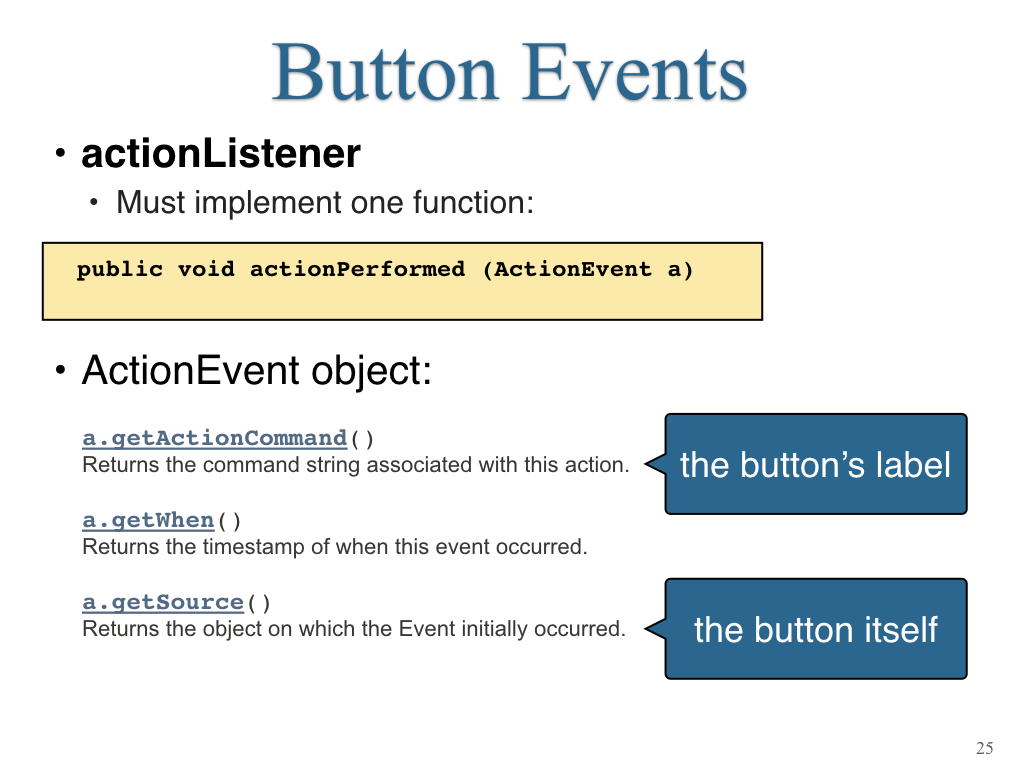
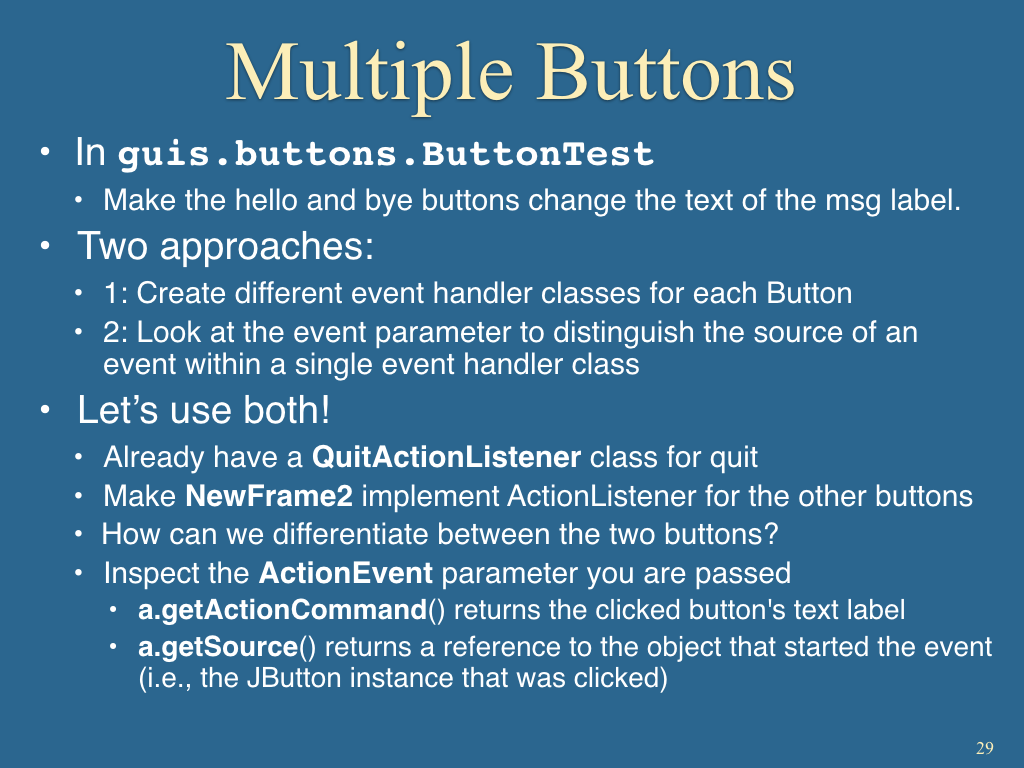
To handle an event, you need an object that implements the appropriate interface.
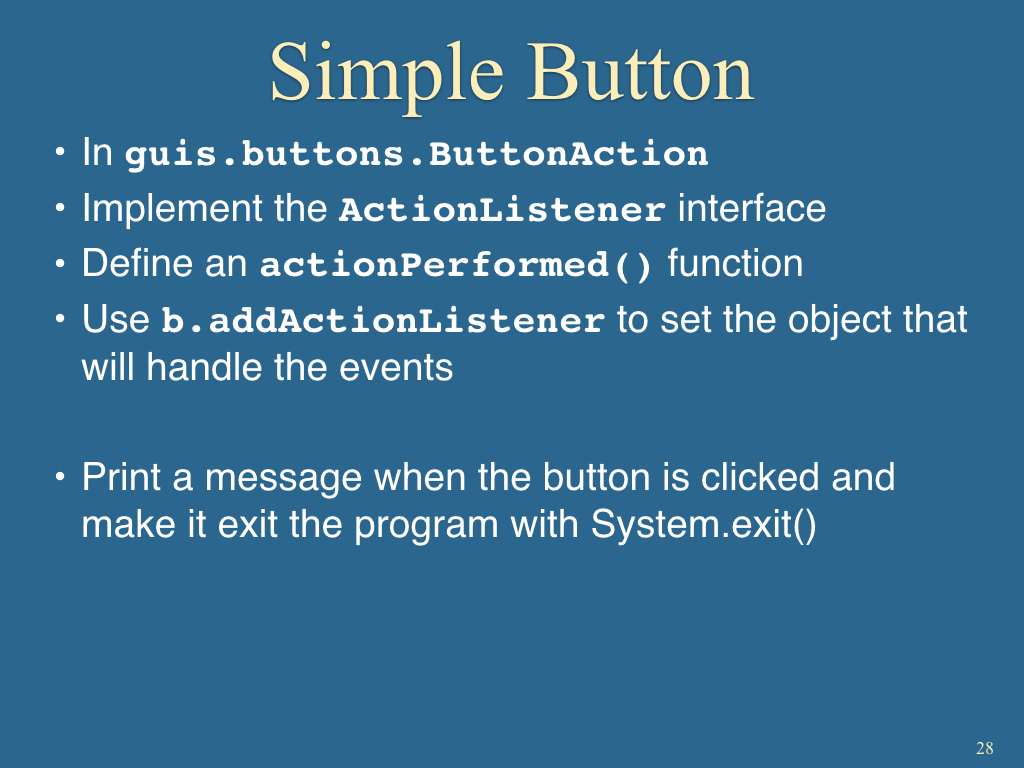
- For buttons, you must implement the
ActionListenerinterface- To do that, define an
actionPerformed(ActionEvent a)function - An
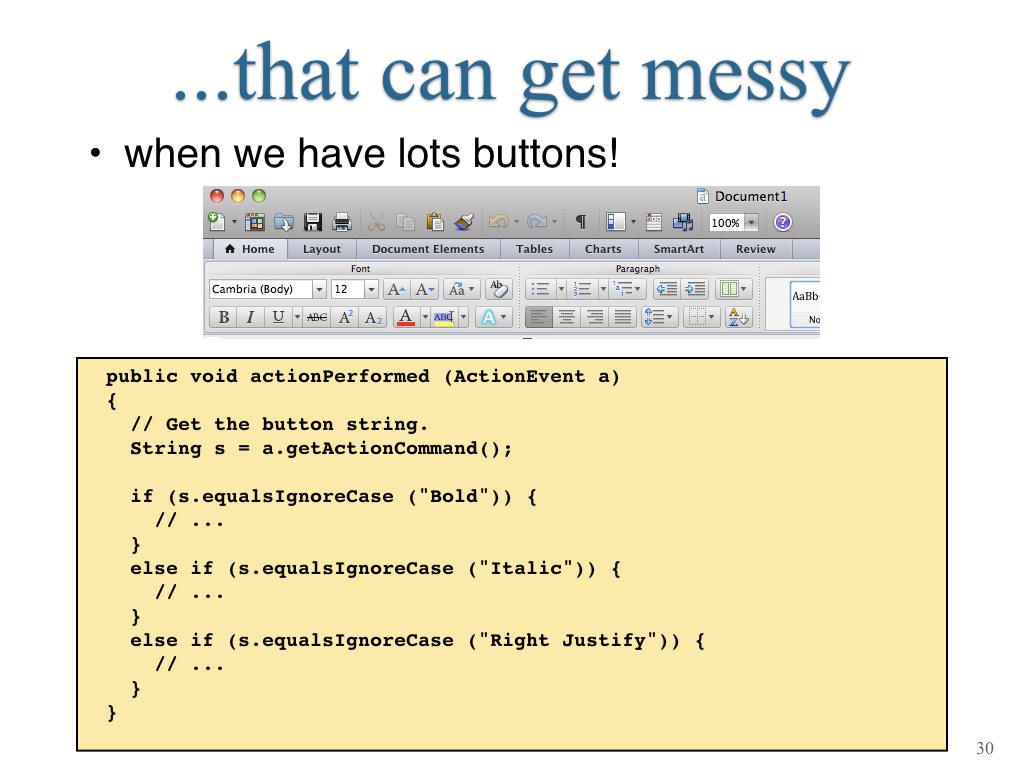
ActionEventobject provides useful functions for getting a reference to the button that caused the event (getSource()) or for getting the label of the button (getActionCommand())
- To do that, define an
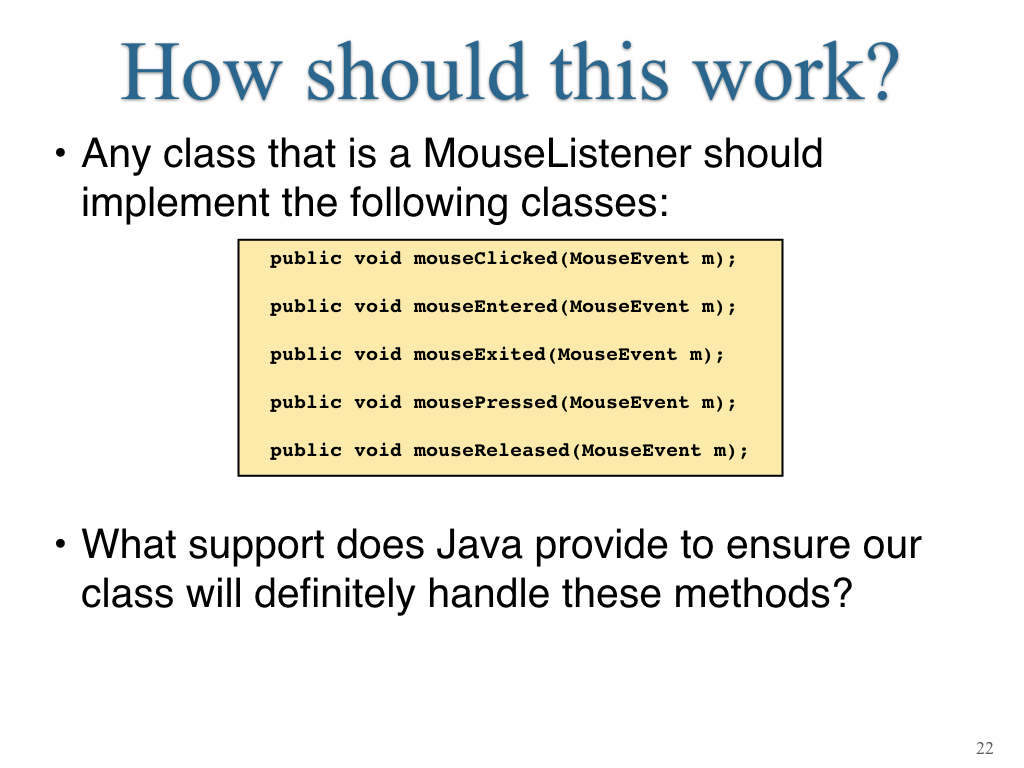
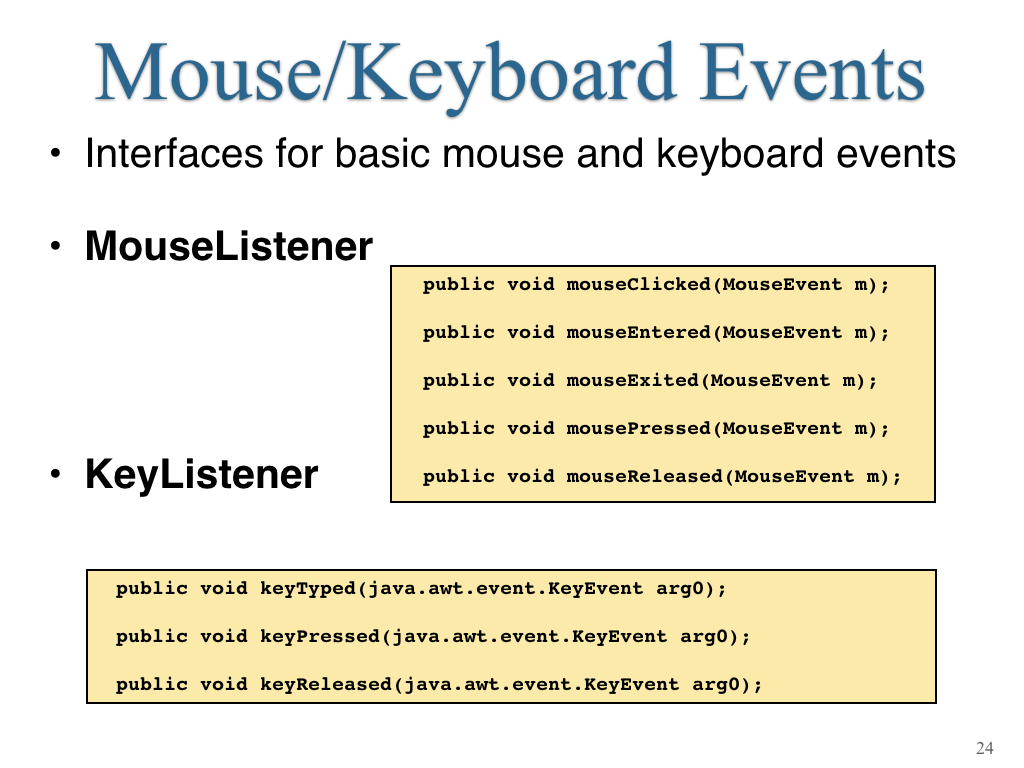
- For basic mouse or keyboard events, implement
MouseListenerorKeyListener.- For full mouse support (like handling click and drag), also must implement
MouseMotionListener
- For full mouse support (like handling click and drag), also must implement
- See Oracle’s Key and Mouse listener tutorials for full details.
Here’s a minimal example to support a button:
import java.awt.*;
import javax.swing.*;
import java.awt.event.*; // Needed for ActionListener.

class NewFrame extends JFrame implements ActionListener {
    public NewFrame (int width, int height) {
        this.setTitle ("Button example");
        this.setSize (width, height);
        Container cPane = this.getContentPane();
        JButton b = new JButton ("<html> <b> Quit </b> </html>");
        // Add an ActionListener to the button.
        b.addActionListener (this);
        // Add the button to the south of the frame.
        cPane.add (b, BorderLayout.SOUTH);
        this.setVisible (true);
    }

    // This method is required to implement the
    // ActionListener interface.
    public void actionPerformed (ActionEvent a) {
        System.out.println ("In actionPerformed");
        // Button must have been pressed - so really quit.
        System.exit (0);
    }

} // End of class "NewFrame"
public class TestSwing22 {

    public static void main (String[] argv) {
        NewFrame nf = new NewFrame (300, 200);
    }
}
Note:
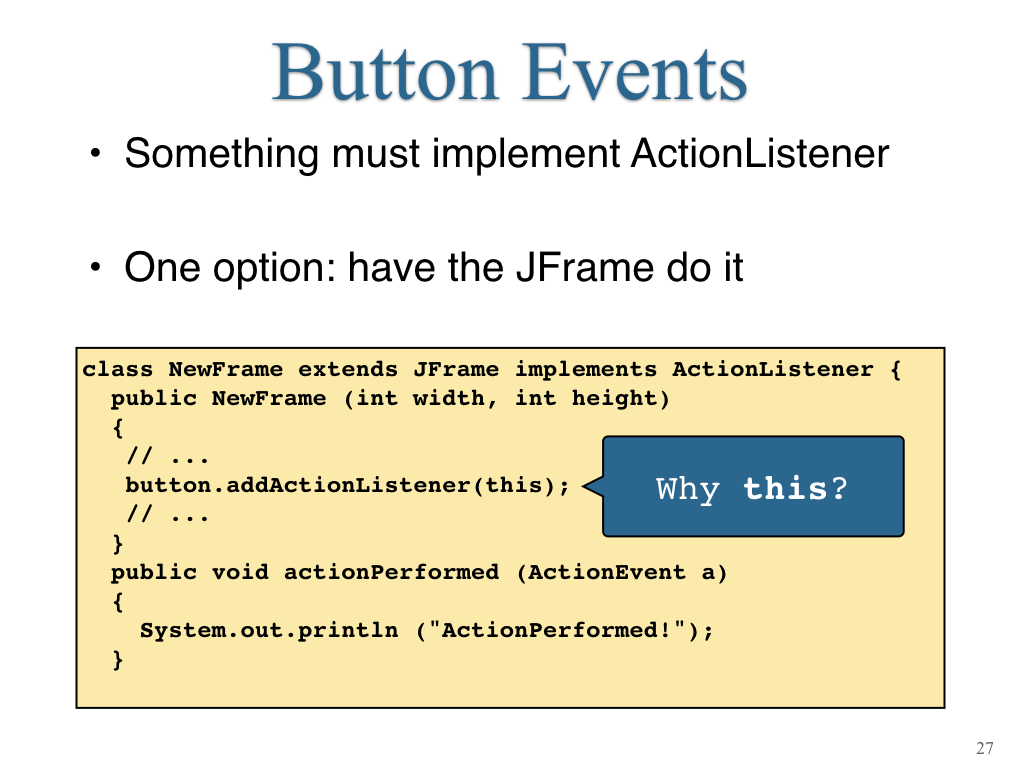
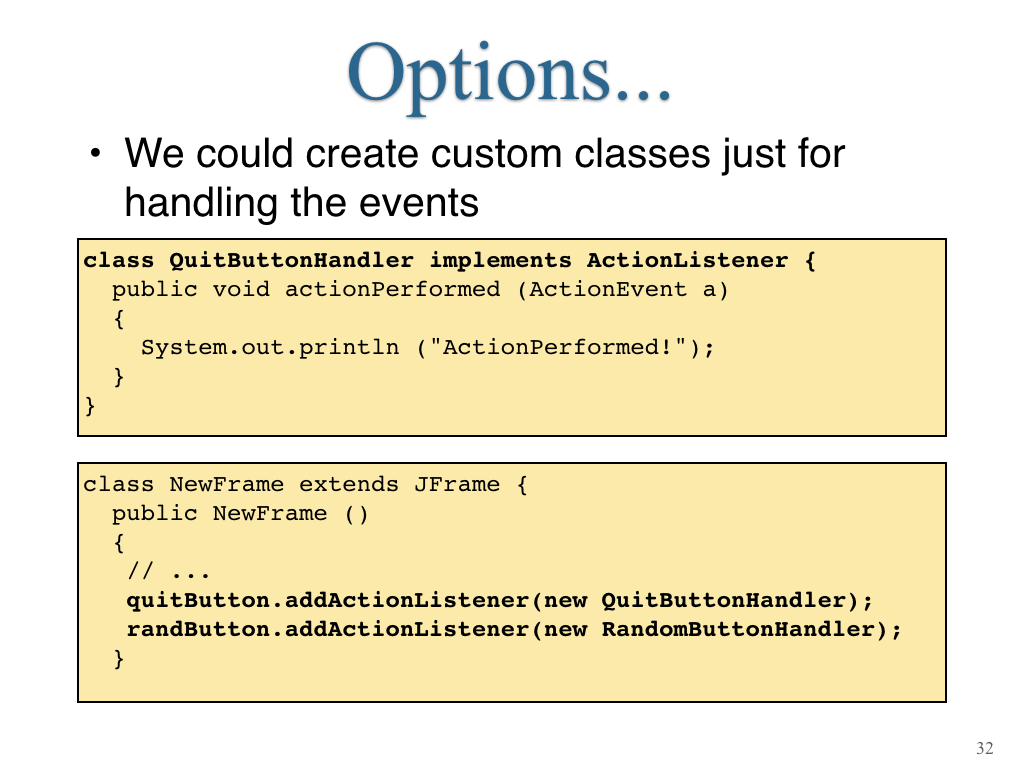
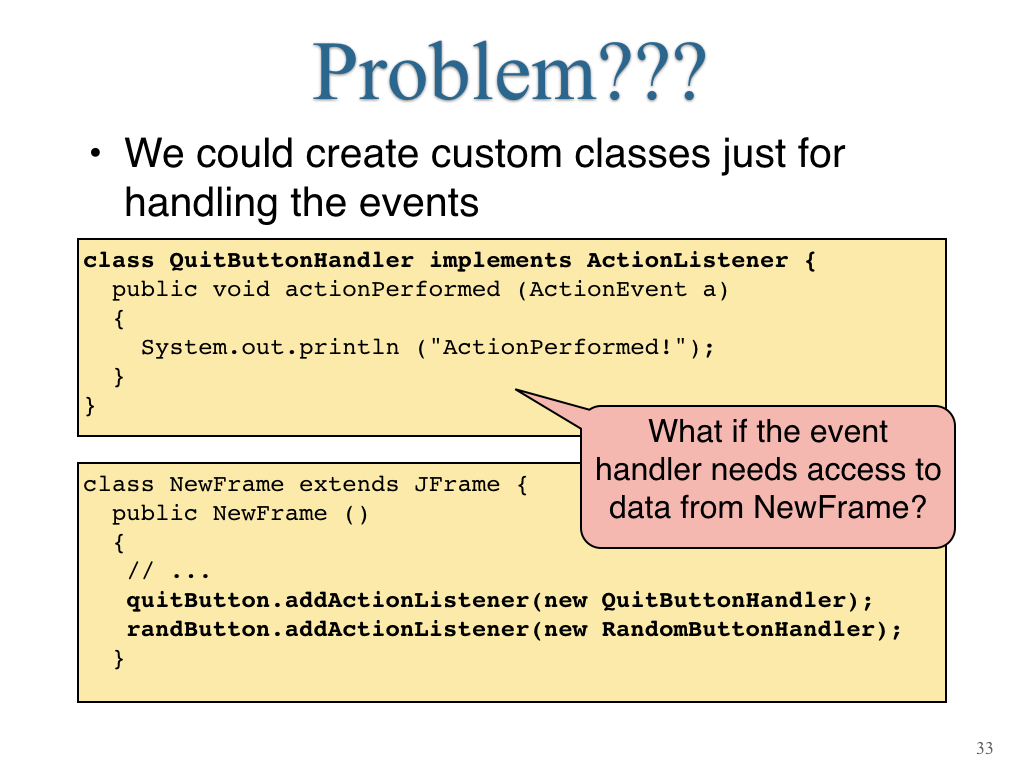
- In this example we have made NewFrame itself implement ActionListener, thus we use
thisto indicate that we want the current object setup as the event handler- Alternatively, we could have created another class which implemented ActionListener, and then used that as the Listener.
- This method of programming is called Event Based programming – we have defined a function (
actionPerformed), but we are never directly calling it ourselves. Instead the Java Runtime detects when an event we care about happens and calls our function for us. This is also called a “callback” function.
Practice: Read through and be sure you understand all of the code in the
practice.dotspackage. This gives examples for handling mouse and key events which might be helpful for your project!
4. Inner Classes
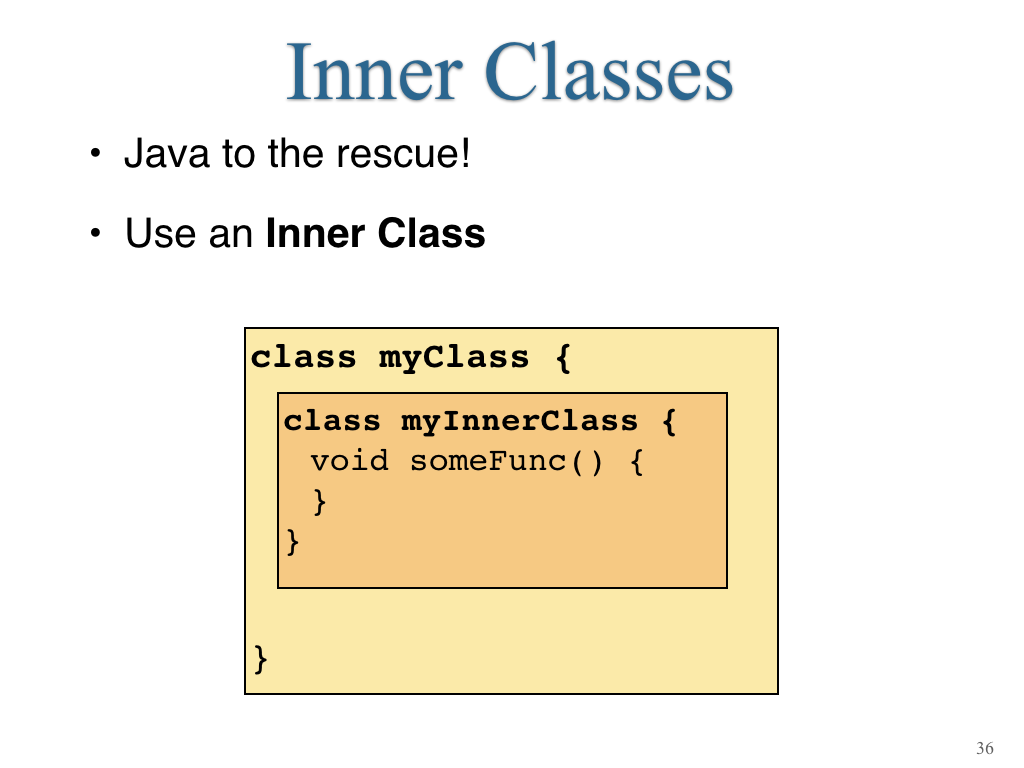
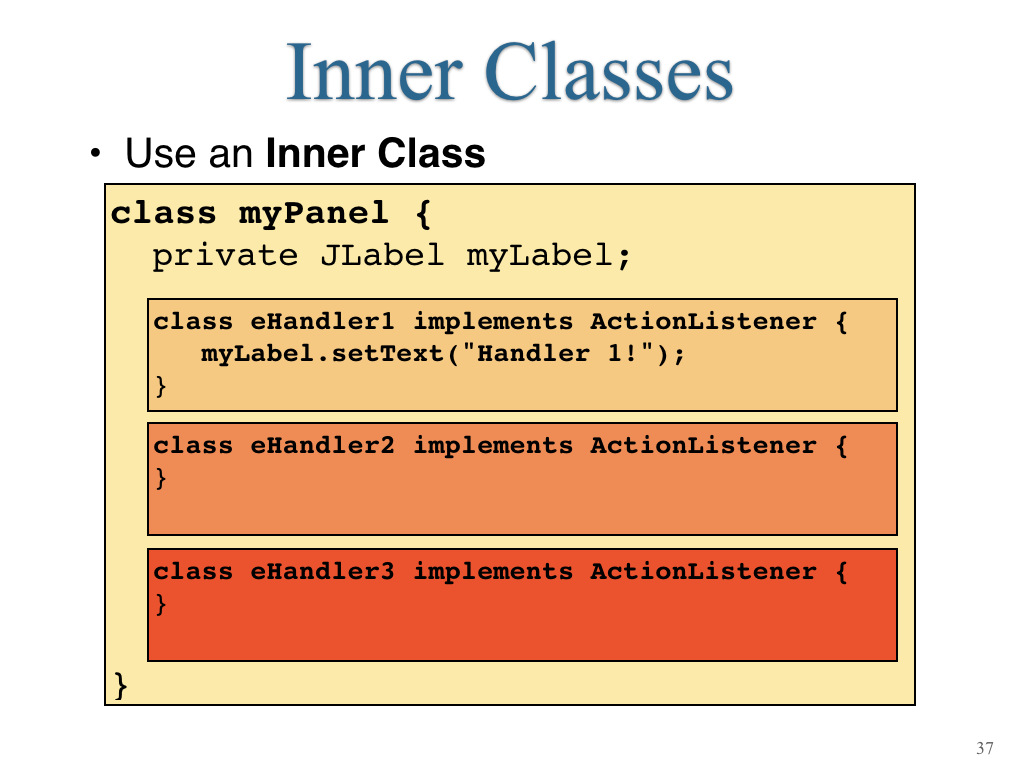
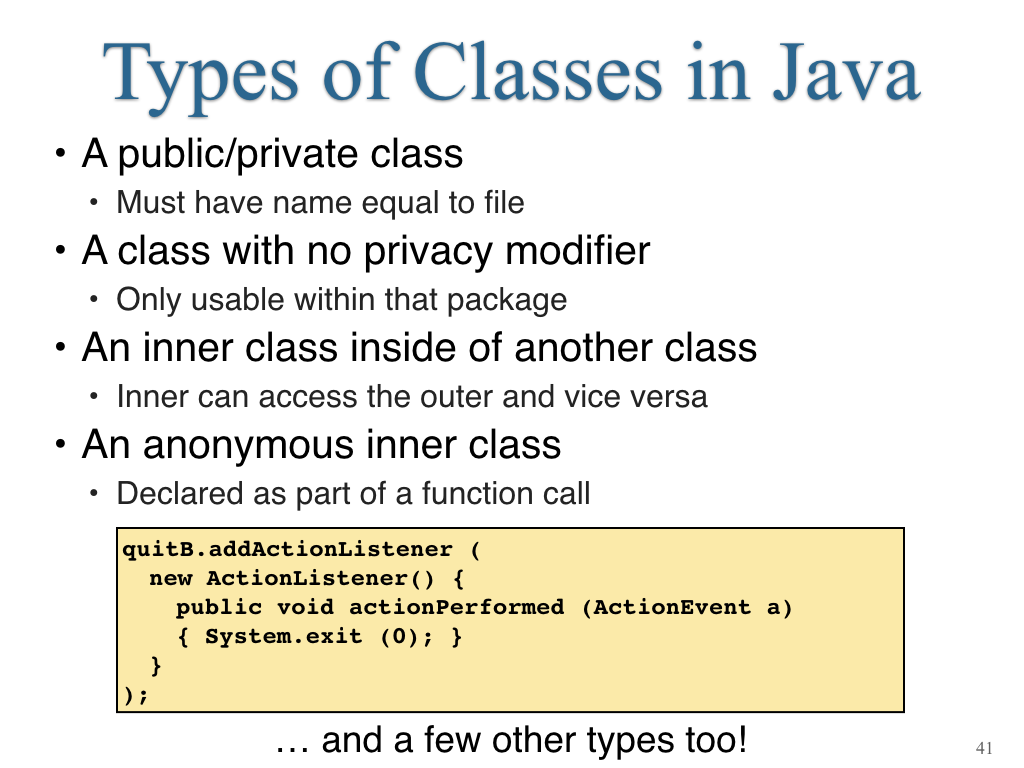
Inner Classes can be declared inside another class, even inside the functions of another class. Here’s a basic example:
package guis.inner;
import javax.swing.*;
import java.awt.*;
import java.awt.event.ActionEvent;
import java.awt.event.ActionListener;
class NewFrame extends JFrame {
// Note: Frame does not implement ActionListener anymore
JButton quitB; // Quit button.
private String msg = "Secret message"; // private message
// Constructor.
public NewFrame(int width, int height) {
// Set the title and other frame parameters.
this.setTitle("Inner Events");
this.setSize(width, height);
this.setDefaultCloseOperation(JFrame.EXIT_ON_CLOSE);
Container cPane = this.getContentPane();
// Quit button
quitB = new JButton("Quit");
quitB.setBackground(Color.red);
// inner class listener:
class QuitActionListener implements ActionListener {
public void actionPerformed(ActionEvent a) {
System.out.println(msg); // access private data in outer class
System.exit(0);
}
}
quitB.addActionListener(new QuitActionListener());
cPane.add(quitB);
// Show the frame.
this.setVisible(true);
}
} // End of class "NewFrame"
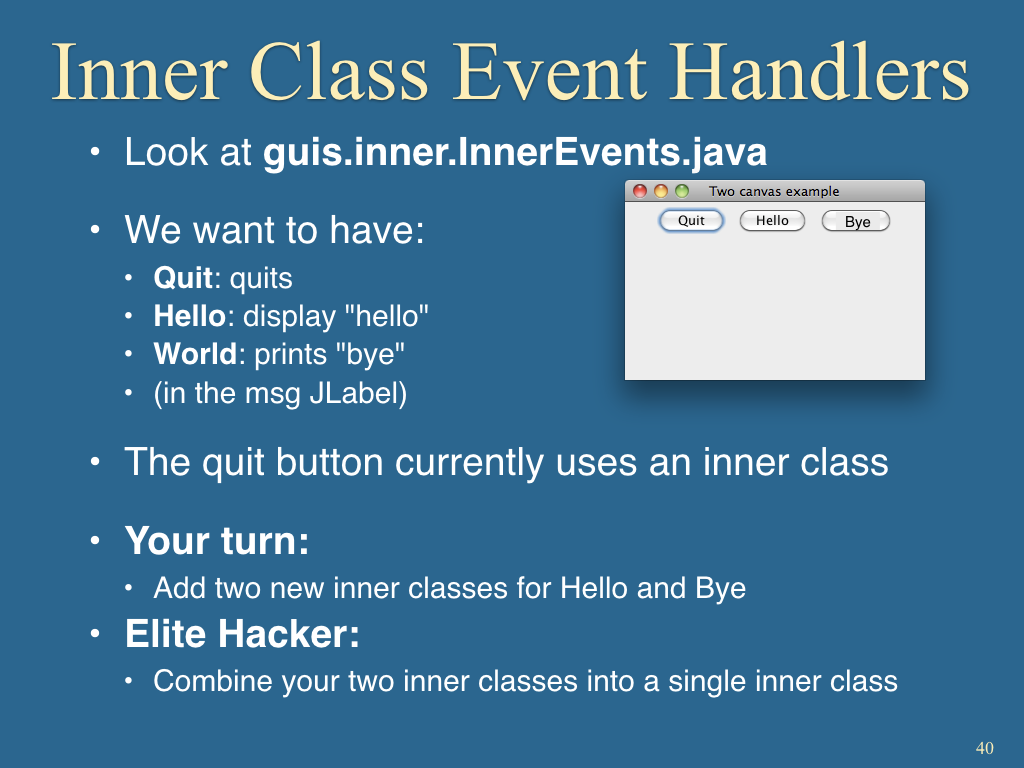
public class InnerEvents {
public static void main(String[] argv) {
NewFrame nf = new NewFrame(400, 200);
}
}
Note:
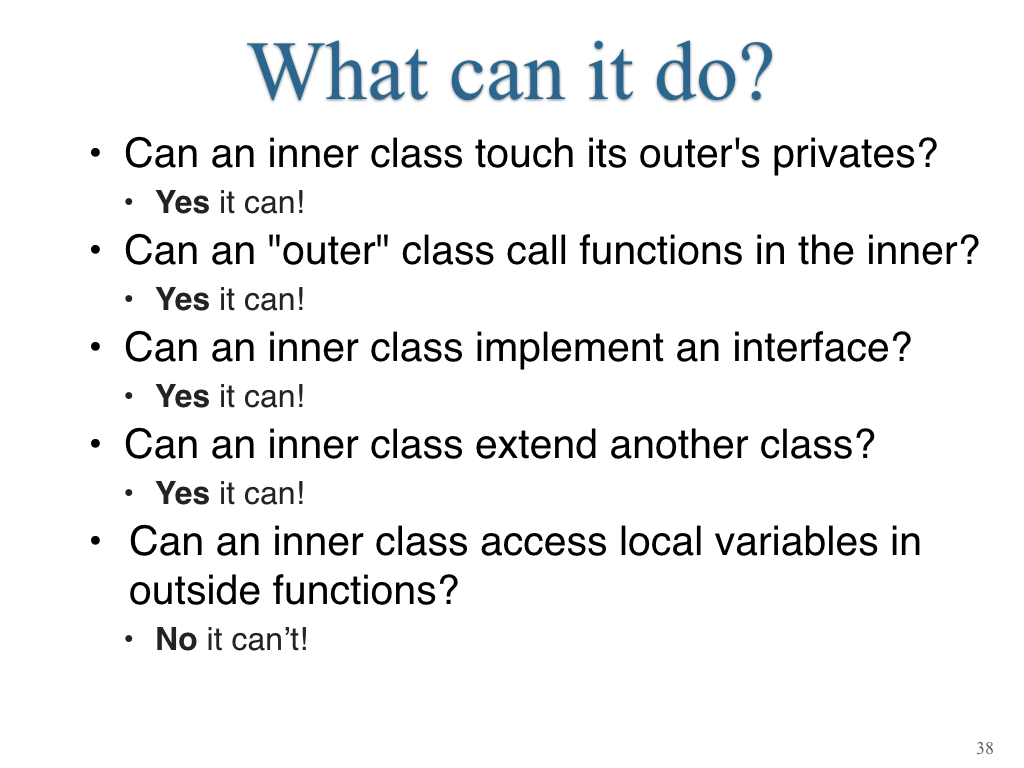
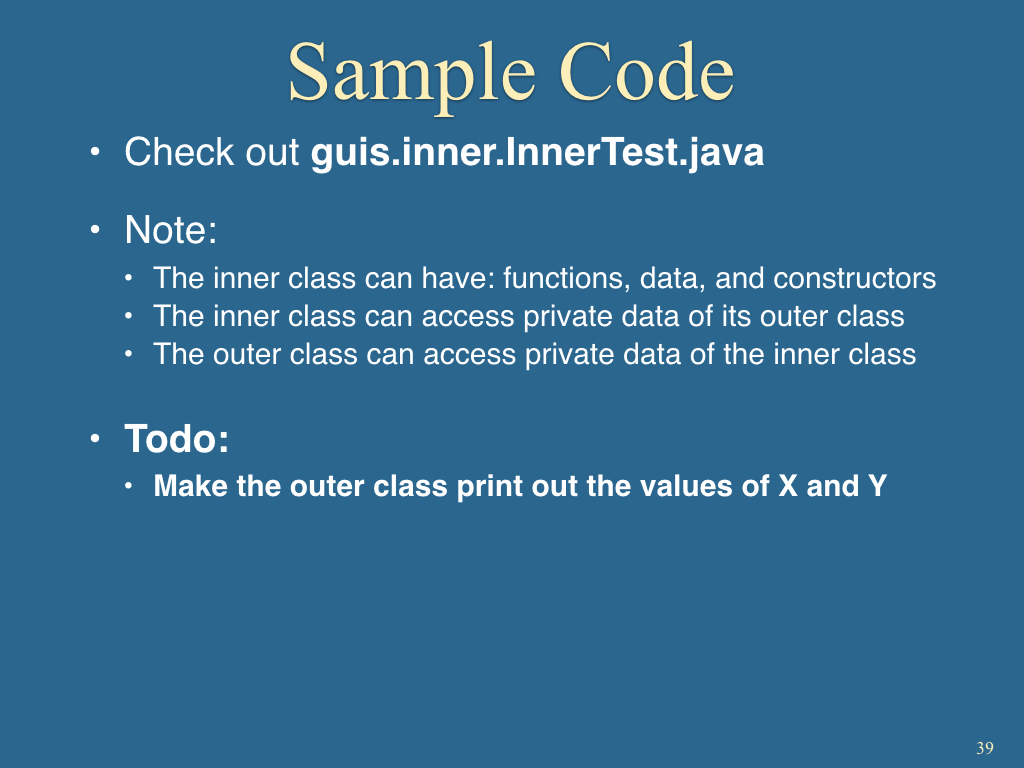
- Inner classes and outer classes are treated as the same protection domain - an outer class can access private data in an inner class object, and the outer can refer to any outer class variables by name.
- Only top-level (heap) variables can be referenced in inner classes, as above.
- Method (local) variables and parameters that are on the stack cannot be referenced.
- Inner classes are also sometimes called Local Classes because they are only defined locally and cannot be created outside of that context.
Practice: What would this code print?
public class InnerQuiz {
	private int divisor;

	class MyInnerClass {
		private int x;

		public MyInnerClass(int xin) {
			x = xin;
		}
		public void print() {
			System.out.println(x/divisor);
		}
	}
	public InnerQuiz() {
		divisor = 1;
		MyInnerClass inny1 = new MyInnerClass(100);
		divisor = 10;
		MyInnerClass inny2 = new MyInnerClass(200);
		inny1.print();
		inny2.print();
	}
}